Setting up a gluten-free safe shared kitchen
Share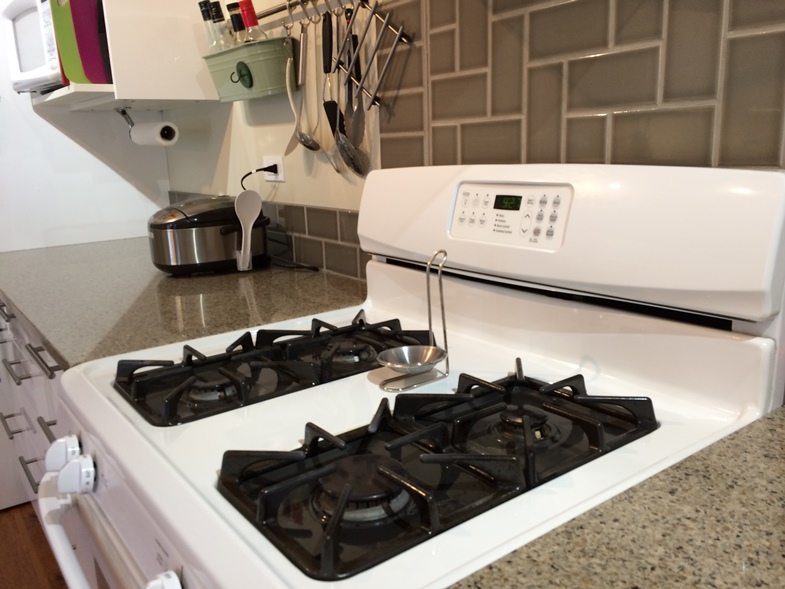
Have you just found out that you or a family member has celiac disease or perhaps a non-celiac gluten-sensitivity and now need to make sure your kitchen is safe! It can be a daunting task!! It seems that gluten lurks everywhere. I know I felt overwhelmed by it. Here is what I learned and how I set-up my kitchen after finding out I had celiac disease in 2013.
It is more than buying a dedicated gluten-free toaster. Setting up your kitchen so that it is gluten-free safe can vary depending on your circumstances. Are you single? Have a family? Will everyone in your family go gluten-free or only the celiac? Are the celiac’s adults or children? What about when friends or family who are not gluten-free visit? It can feel like an immense task. But, don’t worry it can be done. It has been done by hundreds of us. Just take it one step at a time. Now ideally you would just do a big clear out, clean thoroughly, re-stock with gluten-free items, and the kitchen would be a 100% gluten-free space! There you go, its simple right? This is not always possible to do. It wasn’t in my family as the non-celiacs still wanted to eat gluten containing foods and it can be quite expensive for everyone to eat gluten-free. Communication is key to the start of this process. Get together as a family and have a conversation to decide how you want to proceed and what the new rules are going to be.
In my family, I’m the only celiac and the others do still eat gluten. How did we set-up our shared kitchen? Firstly, we agreed to ban gluten flour from our kitchen. Gluten flour is the worst cause of airborne cross-contamination - that stuff gets everywhere! The tiniest microscopic amount of gluten can make a celiac sick Click Here If it must be used then ideally it would be in another room. For example, my husband loves gluten waffles, so luckily for us we have a bar area in our basement and that is where all the gluten ingredients: the waffle maker, bowls, measuring cups and spoons, mixing utensils, gluten flour in a closed plastic container and other ingredients are kept. He makes his waffles and cleans downstairs and then brings them up to the kitchen table to eat. I do not use gluten flour at all - it is just too dangerous and my family and I are not prepared to take the risk. All my baking and cooking is gluten-free. Secondly, we went for separate toasters. Thirdly, I label everything that is gluten-free! I use masking tape and a pen. And lastly, we store gluten items and utensils in their own drawer or if they must be in the gluten-free area we do our best to store the gluten items on lower shelves so as to minimize any chance of cross-contamination. All righty then, let’s get into the nitty gritty of it.
It cannot be overstated that communication is key! Have a conversation with your family and agree on a plan that will work for you. Learn about cross-contamination and ways to stay safe. Safety for the celiac should be the top priority as it is a health concern.
Start with the Food
- Divide and conquer!! Do one area of your kitchen at a time. I split mine into: Fridge. Freezer. Pantry. Toaster area. Preparation area. Cupboards. Drawers. Sink.
- Do food items one day and non-food items another day if you feel overwhelmed or just are short of time. I planned mine for a weekend. I got the basics done in the weekend, but it actually took many months to get the kitchen where I wanted and it still is an ongoing process. It can be quite a task to clear stuff out especially if you’ve been eating gluten for a long time.
- Gather your cleaning supplies: a vacuum cleaner, tape or stickers and a pen to label the gluten-free items. A vacuum cleaner you say!!! Yes indeed! Those gluten crumbs and flour dust are everywhere. You will need to vacuum your fridge, oven, toaster, cupboards, drawers, shelves, and counters - basically your whole kitchen area. Then, your need to wipe it all down. Hot soapy water will do the trick. Clean one area as you empty it. For example, you’ve emptied and sorted fridge items, now vacuum and wipe down that baby before you reload. If you are like me you had spilled soya sauce (gluten!!!), a smear of unknown stuff (possible gluten!!) and bread crumbs in your crisper drawer.
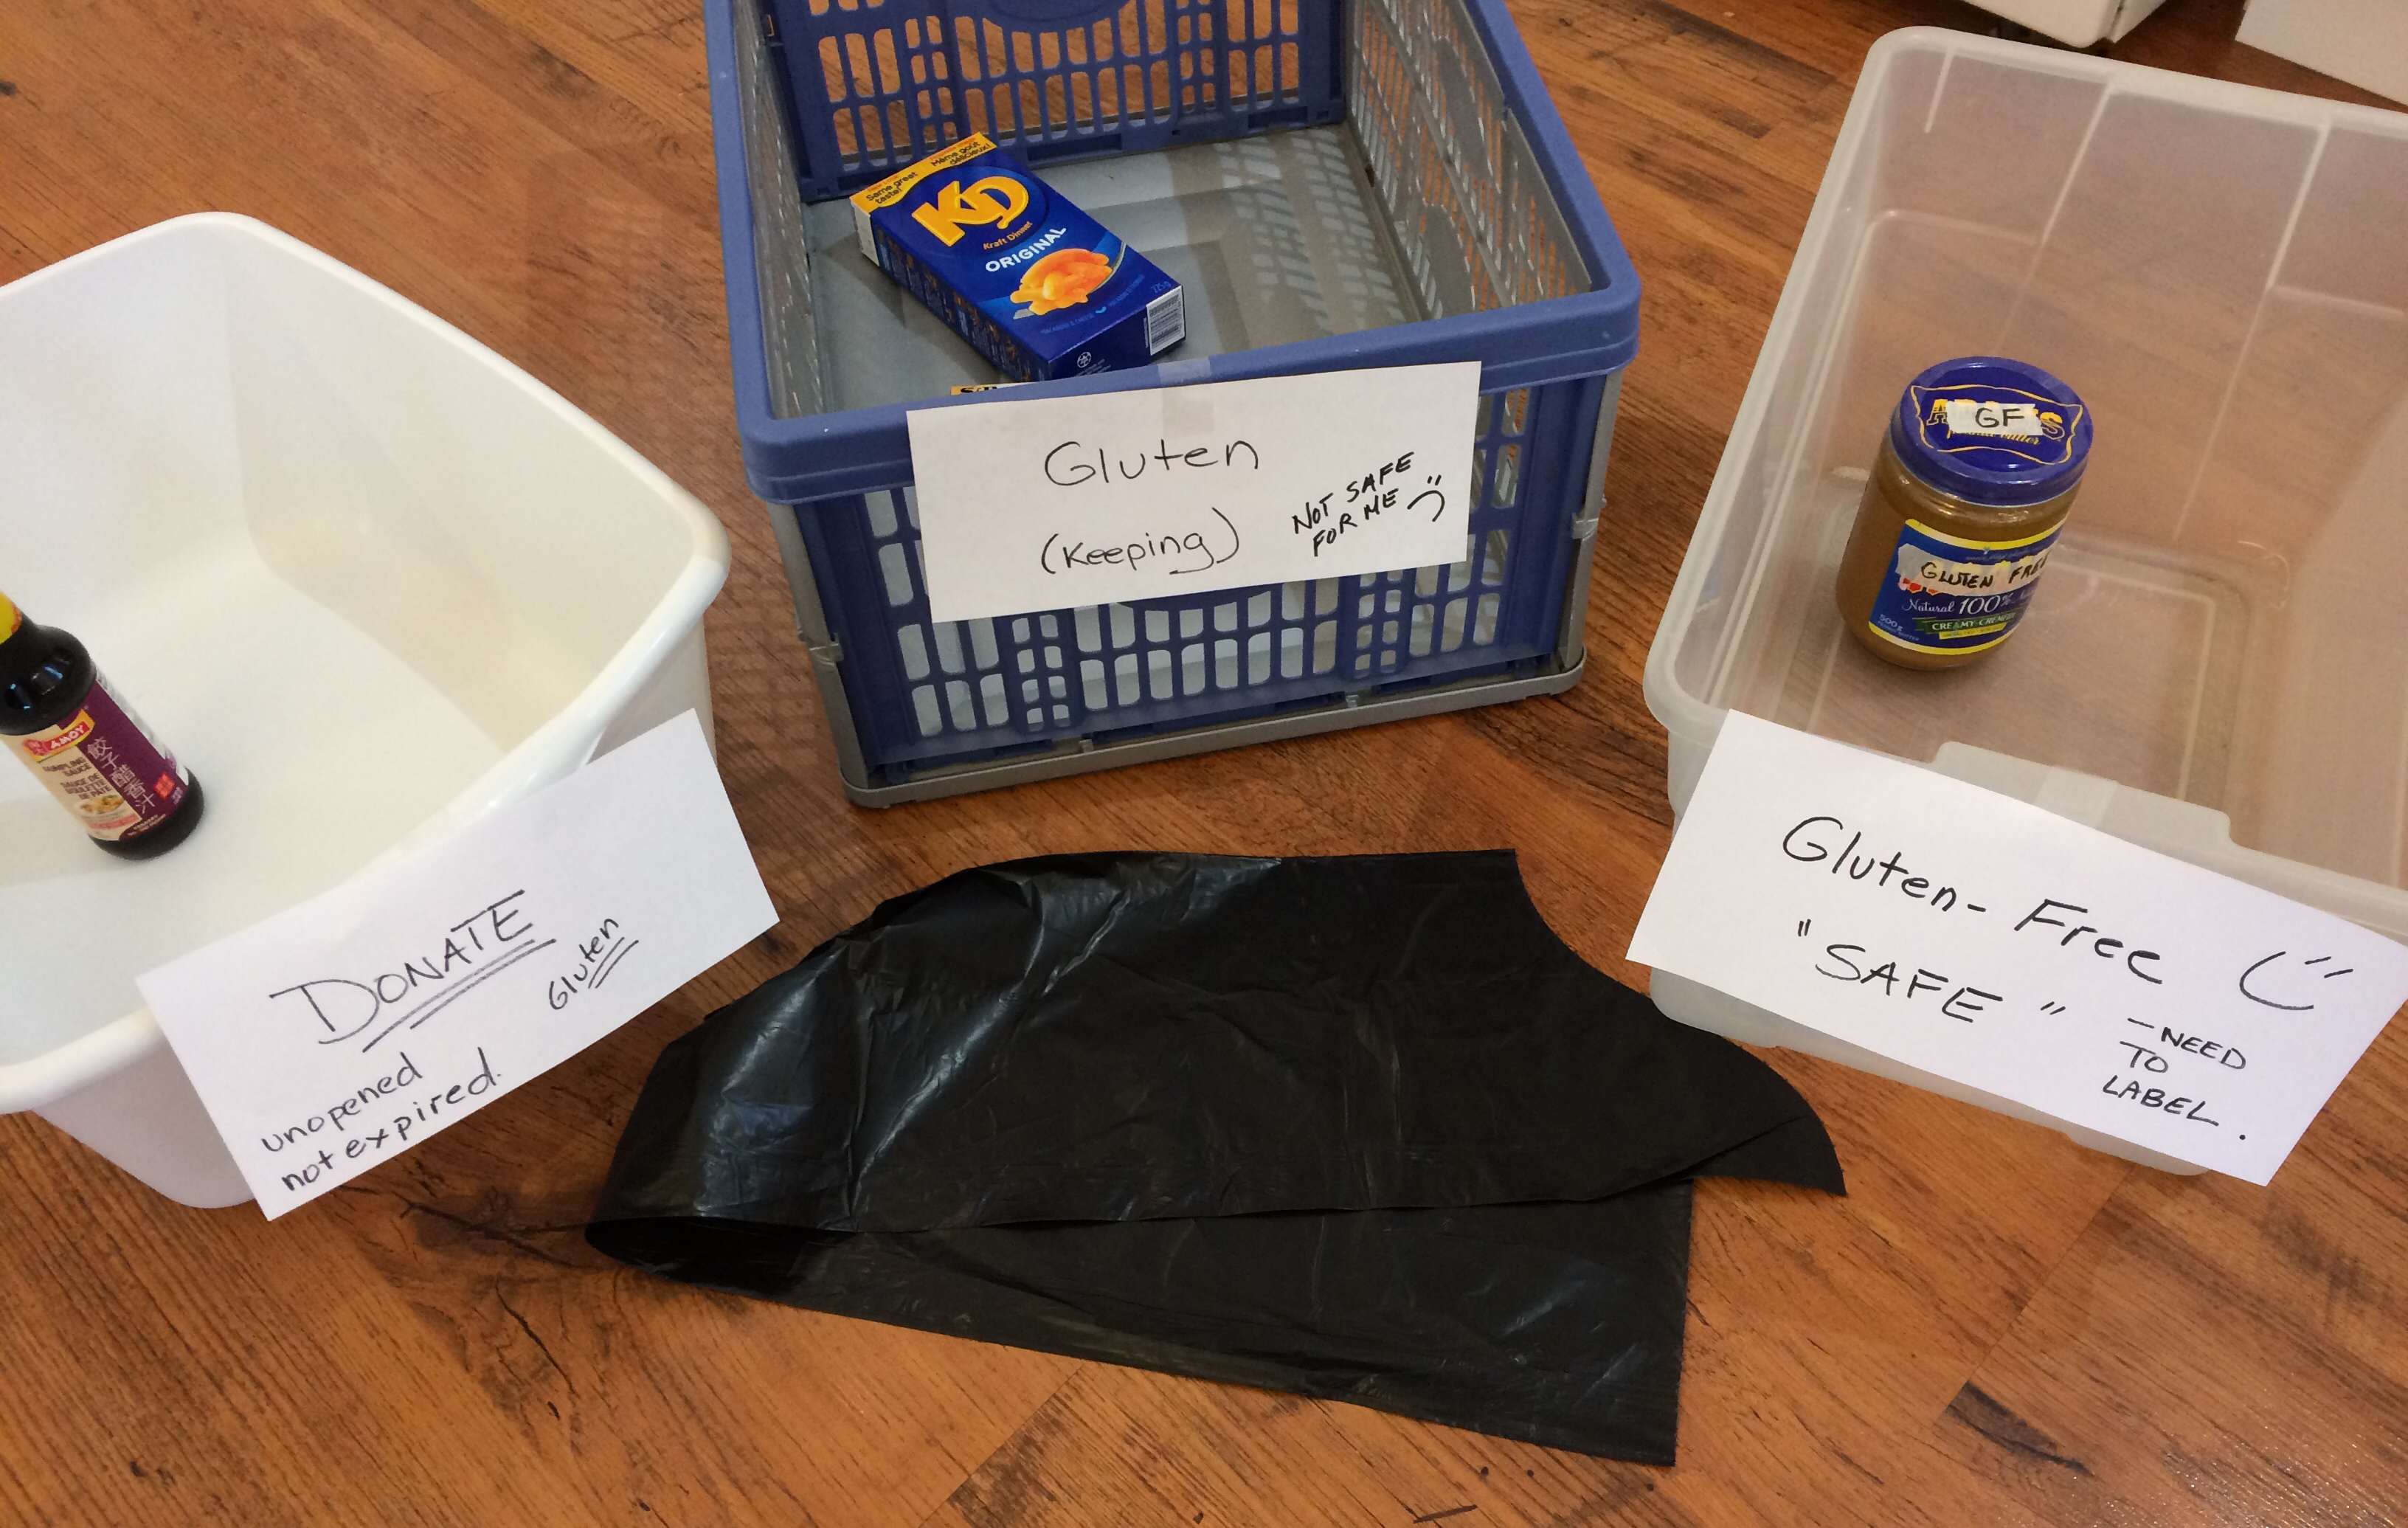
- Sorting time!! Grab yourself a cup of coffee or tea and a helper hopefully. You will need to sort the gluten food from the gluten-free food. Now is the time to start reading those labels and figuring out what all those words mean. Hopefully, you have a little booklet from your local celiac association to help you identify what is and isn’t gluten free. If not, use that internet and google the heck out of it. I found bins worked best for me. I had three bins and one bag: one for gluten-free items, one for gluten items or gluten contaminated items we were keeping, one for donating, and lastly the bag for throw away items. Note: Start with the fridge and do the easy ones first, you know, the whole fruits and vegetables. You will feel accomplished! Then start label reading. Remember if unsure then it goes into the gluten bin or chuck it out. I have to say that this wasn’t easy for me, I sat there looking at the half opened jars of jam, peanut butter and mustard thinking there is nothing in my fridge I can eat right now! They all are cross-contaminated from double dipping and the enormity of it all was huge. But I didn’t have a choice if I wanted to feel better than I had to just get on with it.
- So, now you have a pristine fridge and you’ve labelled your gluten-free items. It is time to put them back. If you are lucky and have two fridges awesome – you can have a dedicated fridge. This is not the norm as most of us have one fridge and if we do have a second fridge it can be super inconvenient to trudge downstairs or go out into the garage all the time as that is usually where a second beer fridge exists. Therefore my suggestion is to put gluten-free foods on the top shelves and all gluten containing items on the bottom shelf and in the bottom shelf in the fridge door. Anything that might leak into the crisper drawer is put in a bin or tray on the bottom shelf in order to contain possible leaks. Things can leak or spill and you do not want to be contaminating your expensive gluten-free stuff or naturally gluten-free fruits and vegetables.
- Freezer. Do the same as you did with the fridge. Why do I have so many crumbs and unknown bits of things in the bottom of my freezer???? Does this happen to anyone else?
- Pantry and food/spice cupboards. You know the drill. Take it all out. Read labels. Sort. Vacuum and give it a good wipe down. Label gluten-free items as needed and restock. Now most of us do not have gluten-free stuff yet so you will have to do a shop.
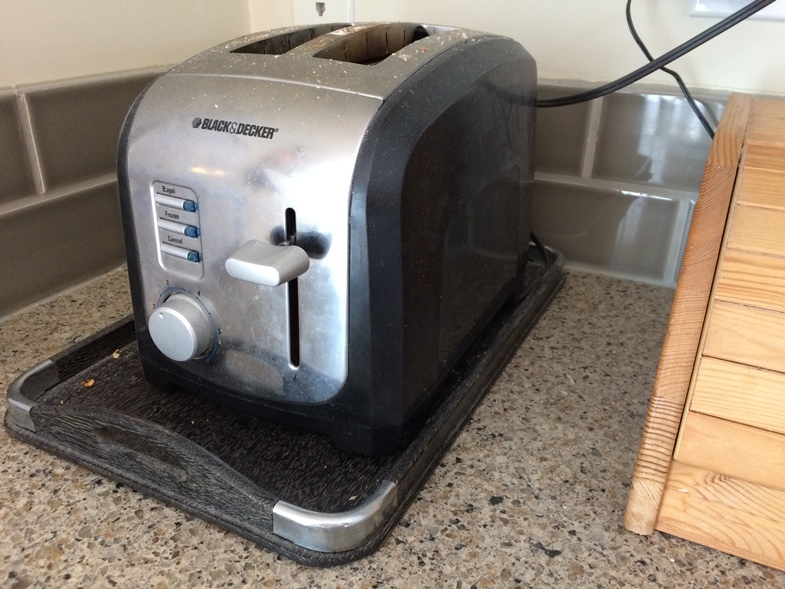
- Counter. Remove everything and give it a good clean. We’ve got a kitchen with two separate counters so the gluten toaster is in the far corner of one of the counters and it is on a tray to try and corral those crumbs. We’ve also put a gluten only bread box next to it. Separate toasters are a must in my opinion. Crumbs get everywhere and it is impossible to clean. You could use toaster bags Toaster Bag Blog but they are really expensive so best to keep for travelling. I got a gluten-free dedicated toaster oven as it allows me more flexibility and it is located at the other end of the counter. We have designated the area by the gluten toaster to be the gluten prep area. We store the gluten cutting board and bread knife there too. All other counters are gluten-free only.
- The food is done and dusted! Yes I have a lame sense of humour. Now it is time to move on to appliances. We have addressed the toaster issue but what about the other things in the kitchen.
Non-Food Items: Your Kitchen Appliances, Equipment Dishes and Utensils.
Ok the food has been done and you’ve addressed the toaster issue. There is still more you say! Yes there is. That’s why at least two days is a must for this task is.
As with the food. Remove all items and do a good clean of the cupboards and drawers. It is amazing how crumbs gather in the utensil drawer.
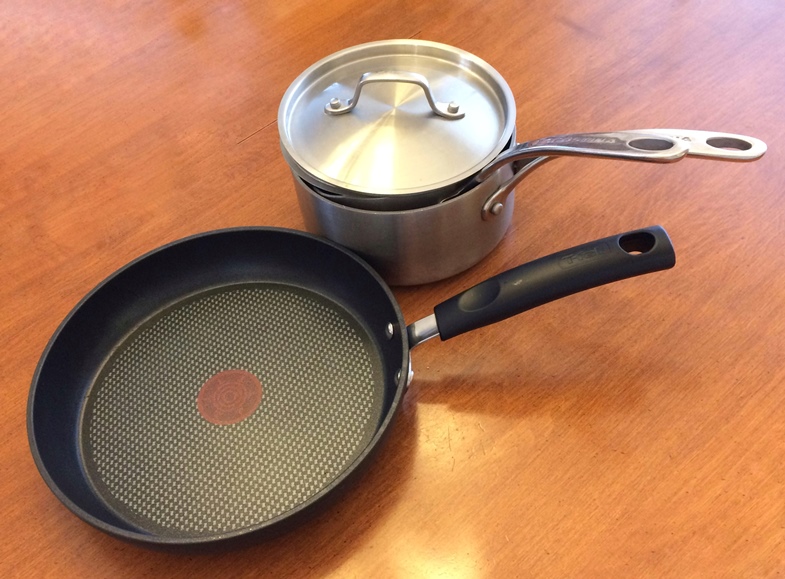
If you are like me and had been cooking with gluten for years then some if not all of your kitchen appliances and utensils are coated in tiny bits of gluten. Basically anything you used for gluten will have to be examined and no matter how well you have cleaned there will still be gluten hiding in hard to get at areas like mixer blades, by the handles on pots and inside where the handle attaches, in the scratches on cutting boards and plastic bowls to name a few. Basically all wooden, plastic, scratched or hard to clean items will have to be replaced or moved to the gluten area of the kitchen. On the bright side, I was going shopping!!! New toaster, cutting board, colander, non-stick frying pan, pots and pans, the list went on. Now this can be costly so pots and pans can be cleaned. Mine were old and scratched so I decided to replace them. You could do this one at a time. Also for some items such as baking sheets tin foil can be put on top. I found it helpful to choose a colour that would indicate it was for gluten-free cooking only. I choose red so in my kitchen the red spatula for example was gluten-free uses only.
The old gluten ones were put in a cupboard/drawer near the gluten toaster and are used by the non-celiacs. My husband loves gluten noodles and Japanese curry roux (has wheat in it). He has tried and will eat my gluten-free pastas and curry dishes but still loves the gluten ones. Therefore we have separate gluten and gluten-free pots and pans. If I know I can clean it well then it can be used for both.
We found it worked for us to section off one small area of the kitchen for all gluten activities and leave the remainder larger part as a non-gluten work and storage space.
My suggestions for replacing old kitchen items with new dedicated gluten-free ones:
- toaster
- cutting board
- colander, strainer
- pots and pans especially pasta pots
- non-stick frying pan
- cast iron pans
- microwave food cover
- can opener
- mixing bowls (if glass and no scratches they don’t need to be replaced)
- utensils: spatulas, knifes, wooden spoons, chopsticks
- canisters for storing tea, coffee, sugar, flour
- coffee maker (if you ever used flavoured coffee grounds as they could have gluten in them)
- clay bakeware
- pizza pan
- baking utensils: baking pans, cooling racks, baking sheets, measuring cups and spoons, sifters, rolling pins, cookie cutters, whisks.
- mixer
- blender and/or emersion blender
- bread maker
- waffle maker
- panini maker
- coffee grinder (some coffees do have gluten added)
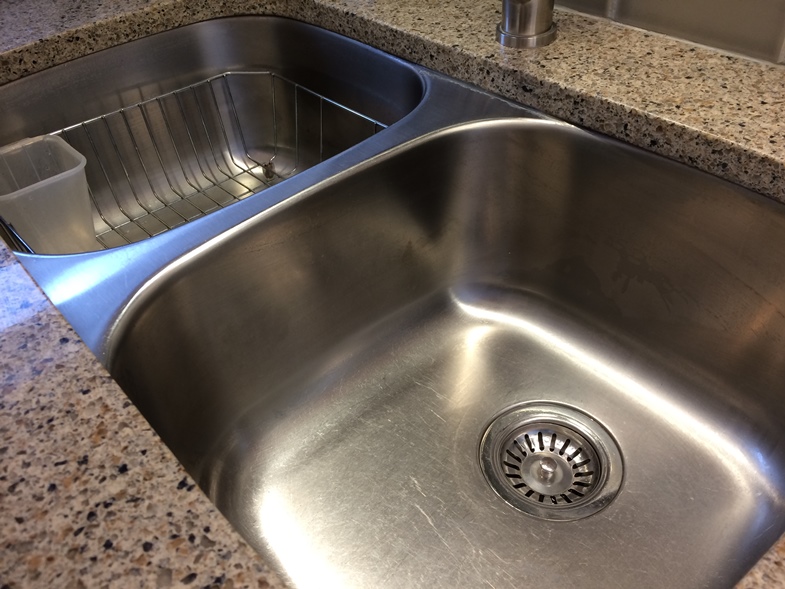
The Sink!
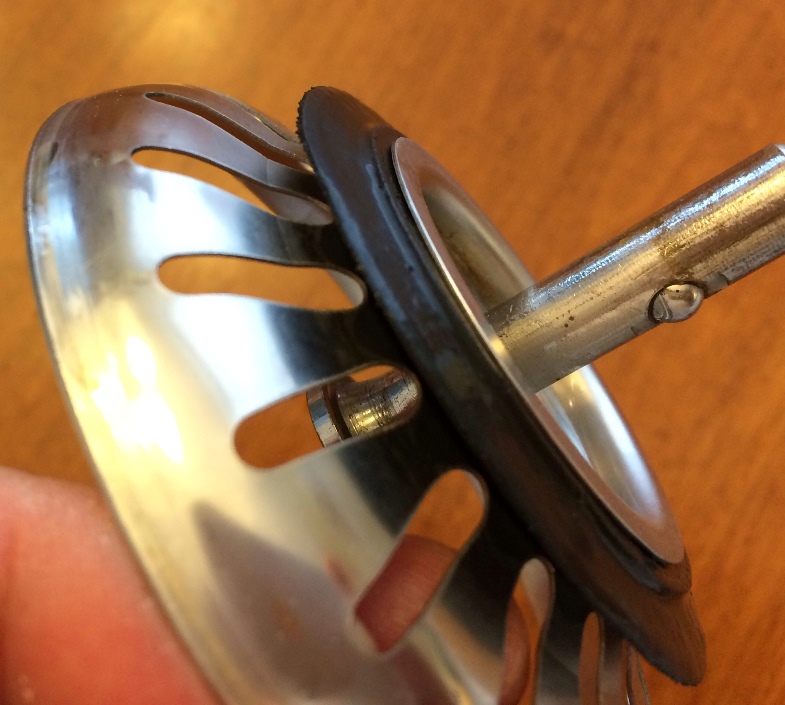
This area is a gluten magnetic. It is used to clean dishes that have had gluten on them and to drain the gluten pasta. As you can see the sink stopper has many nooks and crannies that are difficult to clean. If possible I would replace it.
It is best to have designated gluten-free cleaning sponges and dish cloths for washing the dishes. If this is not feasible clean the sponge and cloths often. Wash dishes that had gluten on them last. If you have a dish washer you must rinse the dishes as gluten particles will be caught in the filter and can be deposited back onto the dishes. Check the dishes when emptying for any particles and re-clean.
Get in the habit of cleaning your sink and area often especially after gluten pasta is cooked. It is a good idea to have a large bowl dedicated for rinsing vegetables and fruit such as lettuce and so on rather than directly in the sink. You do not want to be transferring gluten to your salad.
Paper towels are handy for spills. Emphasis clean hands as you do not want your kitchen towels to be sources of cross-contamination. You may need to have designated gluten-free ones hanging away from the gluten ones.
Time To Re-Stock
Now you will need to go shopping to restock your fridge and pantry. Remember whole, non-processed foods are usually naturally gluten-free so start with fruits, vegetables, fish, meats, rice and potatoes. Next look for gluten-free substitutes for your old gluten favorites. I advised introducing gluten-free substitutes slowly. Give your body and palette time to adjust to your new way of eating. There are many gluten-free breads, crackers, pastas, sauces, condiments, sausages, bacon, processed meats, sweets, cereals, gluten-free flours, baking powders, cake and cookie mixes available in the regular grocery stores and specialty shops. Start slowly. Just buy one at a time, if possible when they are on sale as they can be pricey and see which ones you like.
Read labels. Even if you have found a gluten-free item you love don’t assume it is always gluten-free! Companies and recipes change so always read the ingredient label.
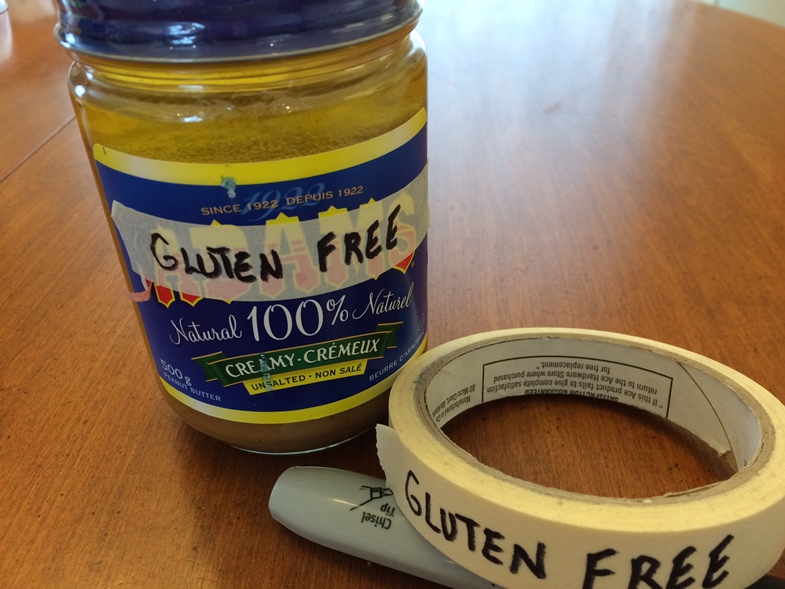
Remember to label your items “gluten-free” when you get home. As I said before I use masking tape and a pen but you can also use brightly colour labels.
Start a no double dipping rule for both gluten and gluten-free items as it will create good practises. Use a spoon to put jam on your plate and from there your own knife to put on your bread or cracker. Squeeze bottle for mayo, relish and mustard are great but no emphasis no touching the tip to the gluten bread.
Take your time to start baking again unless you absolutely love it. Baking gluten-free is tricky and getting used to the new taste and texture takes time too. But that said, there are some marvelous and tasty baking mixes on the market and in gluten-free bakeries.
Other cross contamination issues
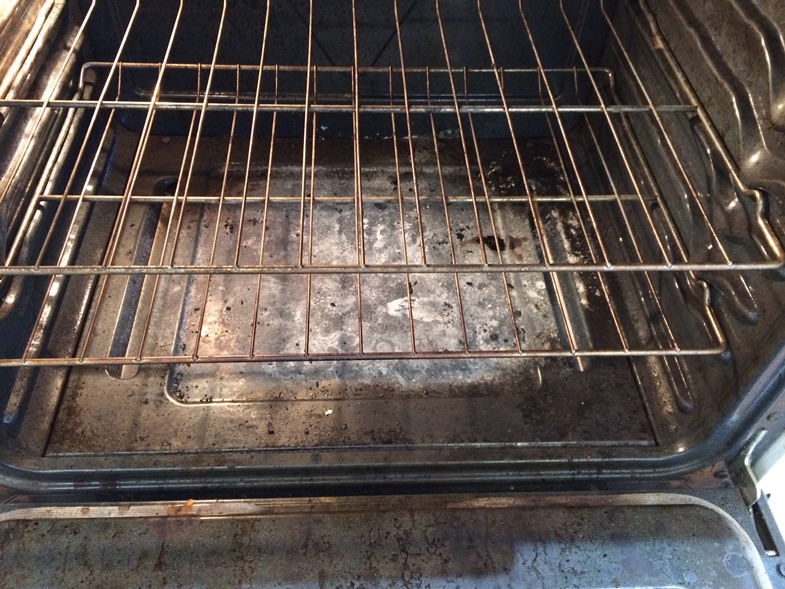
The oven and stove top. There could be cross-contamination on the racks and surfaces of the oven from previous baking spills. Therefore give the whole oven a good clean. The top, bottom, sides and racks. Also clean the warming/storage drawer at the bottom and if possible move it out and vacuum any crumbs that have gotten underneath. Also clean the stove top, grills and hood.
The microwave will need a good cleaning inside, outside, on top and underneath. Also get a new microwave food cover and mark it gluten-free only. Use the old one for gluten foods.
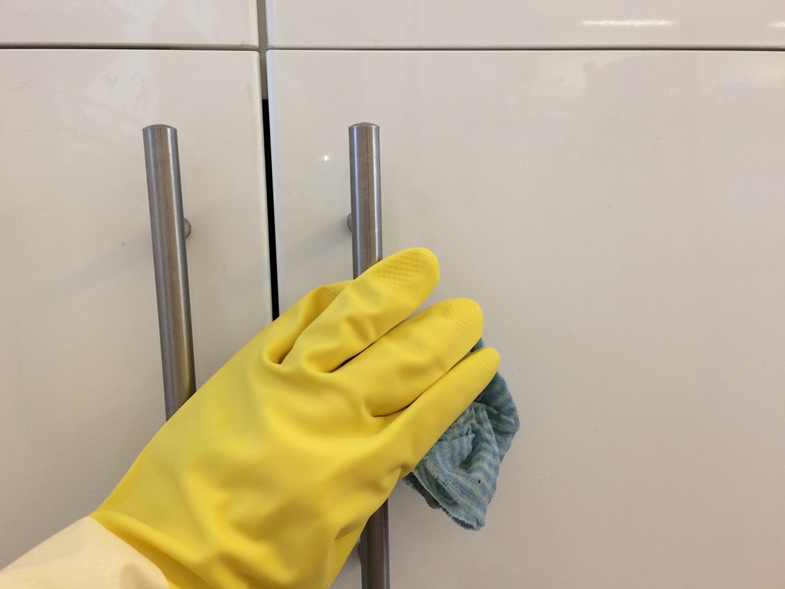
Clean all areas of the kitchen. Including the fronts of cupboards, handles, the table and chairs as they could have been contaminated with gluten hands when moving the chair or touching the table underneath. Give the sugar bowl, salt & pepper shakers a good cleaning.
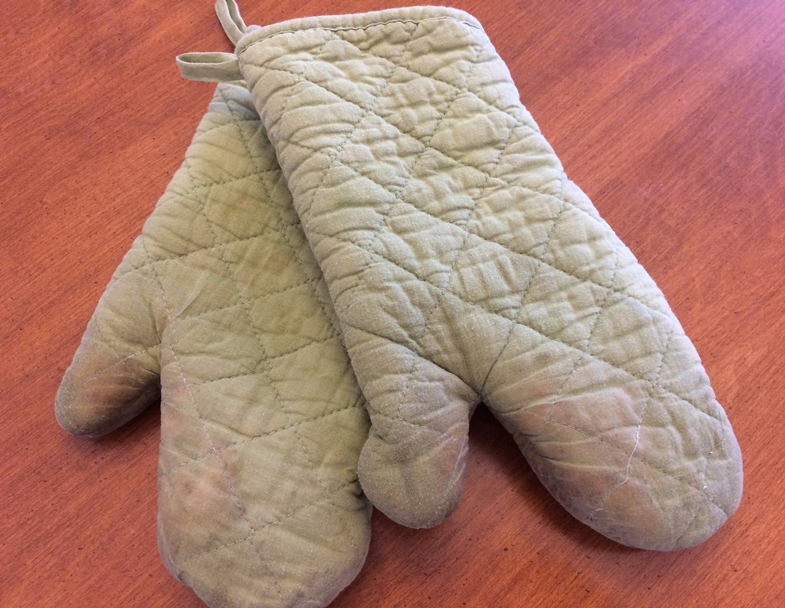
Throw away your oven mitts and get new ones. They are easily contaminated.
The barbeque grill is another source of cross-contamination. If it will be shared or not replaced then clean it well and use tin foil for the gluten-free items. Always cook the gluten-free foods first.
Visiting friends and family can be another source of angst for the celiac. Let them know the rules of the kitchen before they come over. Set up a clearly marked “gluten-free” only table. Try to avoid communal dips and chip bowls. If there is a mixed table put out plates and small bowls with serving spoons so everyone can just take what they need and replenish with a non-contaminated utensil.
Mistakes do happen sometimes someone will accidentally use a gluten-free condiment on gluten bread or crackers and double dip. Encourage people to let you know if this occurs and re-label the item “Not Celiac Safe”.
My ongoing struggles and challenges
Even after five years I still face challenges in my kitchen. Gluten crumbs make me anxious and recently my family has decided that we will all eat gluten-free bread only after the gluten bread is used up. So the crumbs from the second toaster will be a thing of the past. We still are dealing with possible cross-contamination issues when it comes to the kitchen sink and gluten pasta water, dish cloths and sponges. We will still have a shared kitchen but most items besides the gluten pasta (somen, udon and soba) will now be condiments such as gluten soya sauce and other asian sauces, so it will be easier to keep corralled. I think communication and education are key. Making your kitchen gluten-free is an on-going project.
How did you go about making your kitchen gluten-free? What struggles and challenges have you encountered? I would love to hear your suggestions! Please comment below.